DIY Car Wraps
DIY Car Wraps: What You Need to Know
Are you thinking about giving your vehicle a fresh new look with a DIY car wrap? Car wraps are an excellent way to protect your car’s paint and add a personal touch without the commitment of permanent changes. However, before diving into a DIY project, there are important factors to consider to ensure the best results. Let’s break down everything you need to know about wrapping your car on your own.
Why DIY Car Wraps?
A car wrap can completely transform the appearance of your vehicle without the high cost of a full paint job. Many car owners opt for DIY wraps because:
- Cost savings: Wrapping your car yourself can save hundreds of dollars compared to professional installations.
- Customization: Choose from a wide variety of colors, textures, and finishes.
- Non-permanent: Unlike paint, wraps can be removed or changed, making it a flexible option for vehicle personalization.
Essential Tools for a DIY Car Wrap
Before you begin, ensure you have all the necessary tools. Here’s a list of what you’ll need:
- Vinyl wrap material
- Squeegee and felt edge tool
- Heat gun
- Precision cutting knife
- Surface cleaner
- Measuring tape
- Gloves
Having high-quality tools will make the job easier and lead to better results.
Step-by-Step Guide to Wrapping Your Car
- Preparation is Key Before applying the wrap, thoroughly clean your vehicle to remove any dirt, dust, or grease. Any residue on the car’s surface will show through the wrap or lead to poor adhesion.
- Measure and Cut Measure the different panels of your car and cut the vinyl accordingly. It’s better to leave extra material, as trimming is easier than coming up short.
- Apply the Vinyl Carefully apply the wrap starting from the middle of the panel and work your way out. Use a squeegee to smooth the vinyl and eliminate air bubbles. For curved areas, use a heat gun to soften the vinyl and stretch it around the curves.
- Trim Excess Vinyl Once the vinyl is in place, use a precision cutting knife to trim the excess material. Be sure to leave a little extra around the edges to ensure the vinyl sticks securely.
- Final Touches After applying the vinyl, go over it with the heat gun one last time to secure the adhesion. Pay close attention to the edges and seams.
Common Mistakes to Avoid
- Skipping the cleaning step: Any debris will create imperfections in the wrap and lead to peeling.
- Overstretching the vinyl: Too much heat or stretching can distort the wrap or cause premature wear.
- Ignoring air bubbles: Not using a squeegee or not properly working out bubbles will result in a poor finish.
When to Hire a Professional
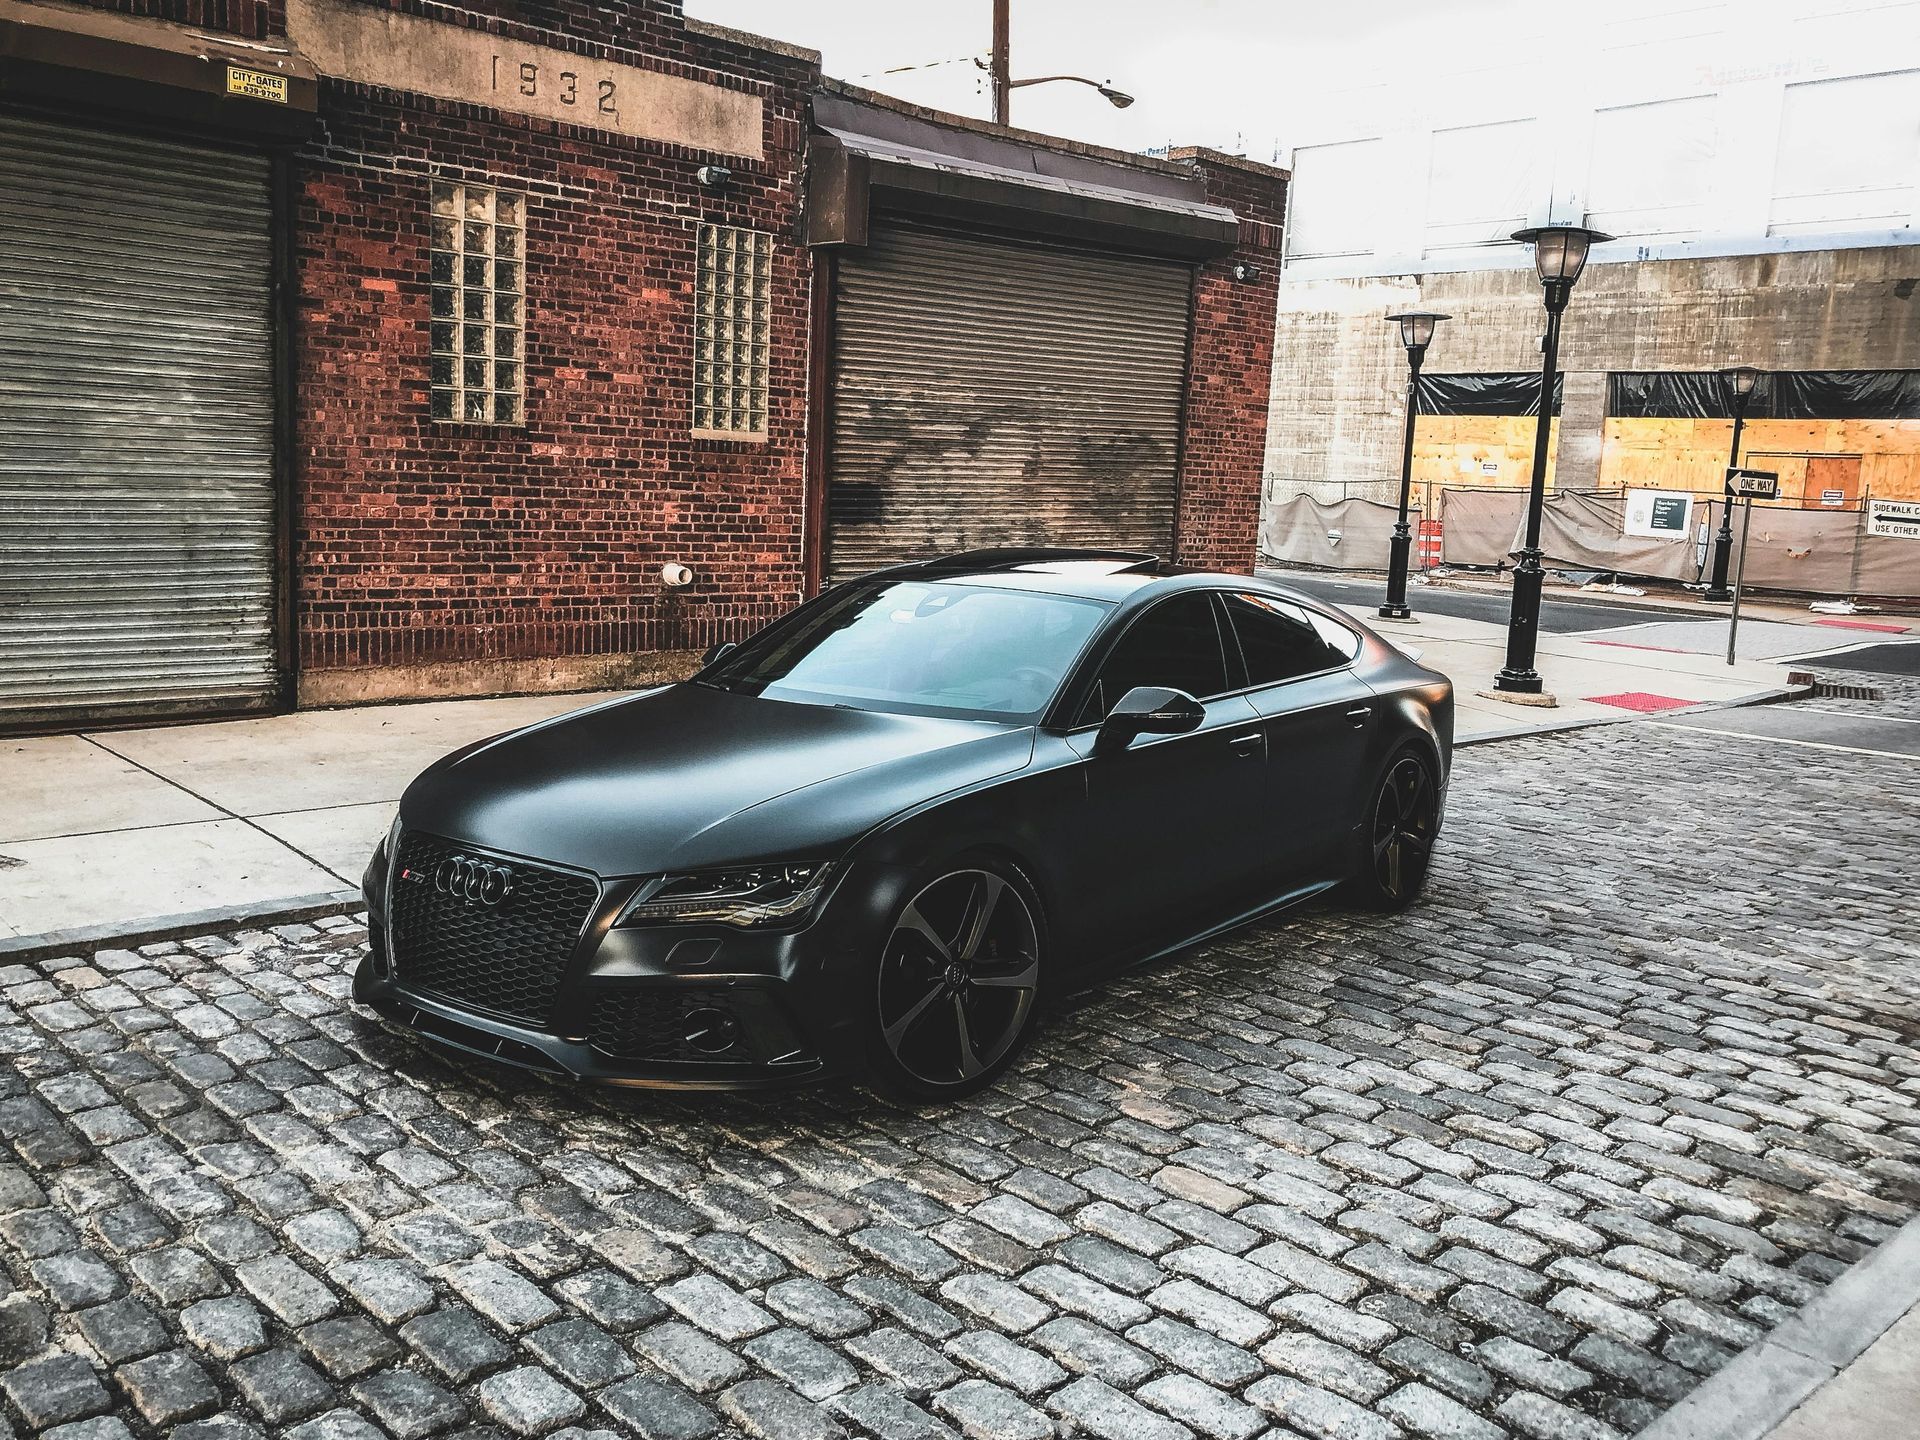
While DIY car wraps are appealing for the cost savings and creative control, they are not always easy. If you’re wrapping a car for the first time or dealing with complex body shapes, consider hiring a professional to ensure a flawless finish. At Premier Car Wraps, we offer expert installation services, ensuring long-lasting, high-quality results.
Conclusion
Wrapping your car yourself can be a rewarding experience, but it requires patience, the right tools, and attention to detail. If you ever feel overwhelmed, the team at Premier Car Wraps is here to help! Whether you need assistance with materials or a professional touch, we’ve got you covered.
For more DIY tips or to get a professional estimate, contact us at Premier Car Wraps today !